Key takeaways
- Check silicone-joint condition, surrounding materials and permitted cleaning tools before scrubbing. Includes a practical record for unresolved damage.
Clean the surface without turning care into sealant removal
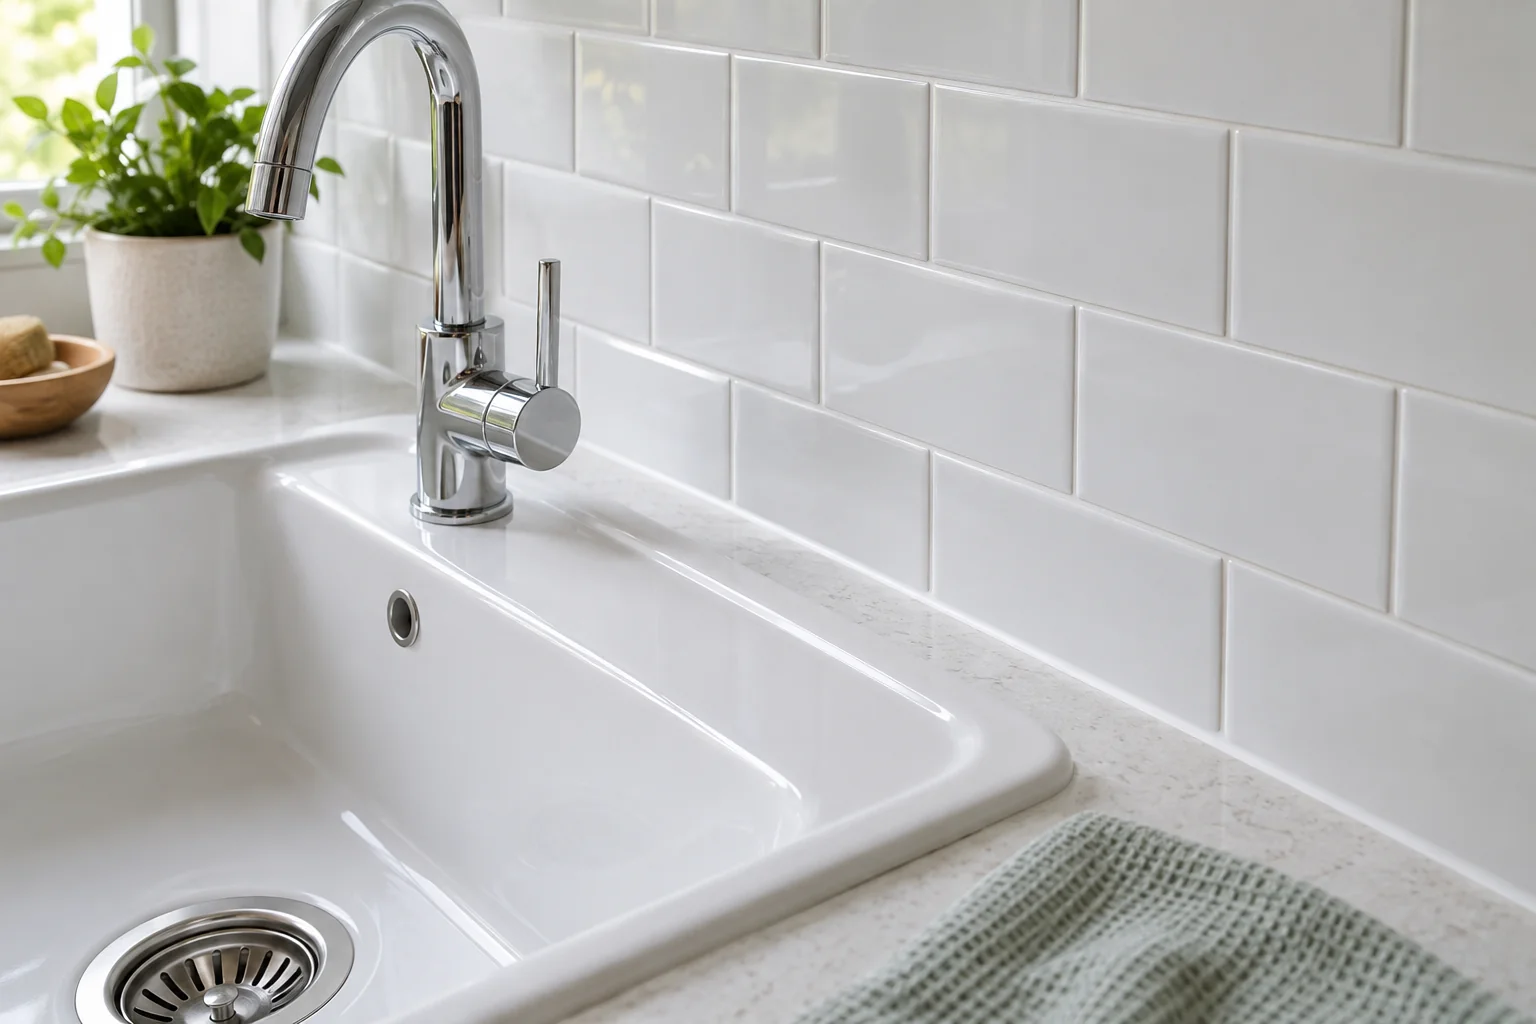
When cleaning around a silicone joint, first distinguish ordinary surface soil from a bead that is peeling, split or pulling away. A cleaner may remove residue, but repeated scrubbing does not reattach a failed joint. Identify the sealant and adjacent surfaces before choosing a product or tool.
Use a method approved for the installed, cured sealant and everything the cleaner will touch. Instructions for preparing a joint before installation, removing old sealant or cleaning uncured residue describe different tasks. Do not borrow their solvents or scraping tools for routine care of an intact bead.
Record the joint as its own material
A sink or shower can combine tile, grout, silicone, metal trim and another surface within a few inches. A product recommended for one of them may exclude another. Record the sealant product from the installer paperwork or retained packaging, along with the installation date when known.
If the sealant is newly installed, follow the exact product’s curing and cleaning restrictions. Water-ready and ready for every cleaning treatment are not interchangeable descriptions. Do not use a generic waiting period from another cartridge to decide when to scrub your installation.
For an older unidentified joint, ask the installer or sealant manufacturer how to proceed. A white or clear bead does not establish its chemistry or condition. Avoid scratching, cutting or pulling it simply to identify the material.
Use the routine-care section of the instructions
GE Sealants’ maintenance FAQ lists mild soap and warm water with a soft cloth or sponge among its routine care options, and warns against full-strength bleach, ammonia, acetone, abrasive pads, stiff brushes and aggressive scrubbing. That is manufacturer guidance with a defined scope, not approval for every adjacent stone, coating or fixture.
The same page contains separate installation and removal guidance. Keeping those sections distinct is important: a substance mentioned for preparation or removal should not automatically become your everyday cleaner. This article does not prescribe a mold treatment, chemical mixture or resealing procedure.
Compare the cleaner label with the sealant’s care guidance and the surrounding materials’ instructions. If a proposed treatment conflicts with any one of them, stop and request a compatible alternative. A successful spot test cannot override an explicit material exclusion.
| Check | Record | Decision |
|---|---|---|
| Joint identity | Product, installation date and care document | Is routine cleaning currently permitted? |
| Condition | Intact bead or visible separation, crack or peeling | Cleaning task or assessment needed? |
| Adjacent materials | Tile, stone, grout, metal and coatings | Does each permit the proposed contact? |
| Cleaner | Exact product and label directions | No unsupported chemistry substitution |
| Tool | Approved soft cloth or other specified tool | No scraping beneath the bead |
| Outcome | Soil removed, unchanged mark or physical change | Finish normally or contact support |
Make the observation before applying anything
Take an overall photograph and a closer view under ordinary light. Record where the mark lies: on the surface of the bead, alongside it or apparently beyond an edge. Do not diagnose hidden moisture or the cause of discoloration from appearance alone.
Note previous products used, when the mark appeared and whether the joint has changed physically. That history helps a supplier distinguish the question you are asking. “The lower edge has separated at this point” is more useful than “the bathroom needs stronger cleaner.”
If there is an active leak, loose joint or another condition needing repair, follow the relevant professional or manufacturer advice. Do not keep applying liquid in an attempt to test whether the seal still works.
Illustrative example: a clean bead with an unresolved edge
Imagine a documented silicone joint between a sink and backsplash. The owner notices a light deposit on the intact central section and a short area at one end that appears detached. The approved routine removes the deposit from the accessible intact area, but the separated end remains unchanged.
The owner records those two outcomes separately. They stop at the unresolved edge and ask the installer for assessment using the sealant details and photographs. They do not push a brush underneath, fill the space with another household sealant or extend cleaner contact time.
This fictional example does not diagnose a leak or specify a repair. It shows why “the mark did not clean off” is not enough information to justify another chemical treatment. Physical separation is a different observation from remaining surface soil.
Prevent the next cleaning session from starting with guesswork
Once a compatible routine is confirmed, save the product name, preparation instructions, permitted contact time and removal method together. Keep cleaning products separate and never mix them. Use the label’s directions rather than making a stronger batch to compensate for an old mark.
After cleaning, complete the specified rinsing or drying steps without leaving materials pressed against the joint. Revisit the record if the sealant or an adjacent surface is replaced. The useful result is an intact installation cared for within its instructions, with changes documented early instead of scrubbed into a larger problem.